clear all

Type

Gita's magazine
Video tutorials
Step by step DIY
Styling ideas
Learn new Technics
Most popular
Crystals inspiration
Color combinations
Technical questions

Jewelry

Necklace
Bracelet
Earring
Ring
Pendant
Hair Accessorie
Jewelry sets

Techniques

Embedding
Gluing
Beading
Other
Crimp Elements
Stringing

Materials

Cup chain
Stone setting
Metal embedding
Metal casting
Charms
Chains
Swarovski
Cabochons
Beads
Leather
Strings
Pearls
SW rhinestone

Skill level

Beginners
Intermediate
Advanced

Metal Plating

Antique Silver
Antique Silver
Antique Copper
Antique Copper
Antique Brass
Antique Brass
Shiny Silver
Shiny Silver
Gold
Gold
Nickel
Nickel
Rose Gold
Rose Gold
Black
Black
Bronze
Bronze
Noir Black
Misty Gold

Colors

Black
Black
Gray
Gray
White
White
Yellow
Yellow
Orange
Orange
Red
Red
Pink
Pink
Purple
Purple
Blue
Blue
Turquoise
Turquoise
Green
Green
Multi-color
Multi-color
Brown
Brown
Metallic
Metallic
Beige
Beige
Sparkly
Sparkly

Themes

Casual
Basic
Fancy
Bridal
Ethnic
Urban
Young
Vintage
Flowers
Winter
Spring
Summer
Autumn
Christmas
Valentin’s day
Mother’s day
Holidays
Religion
Evening

Flat back emerald necklace

Flat back emerald necklace

02/07/2015
Flat back emerald necklace


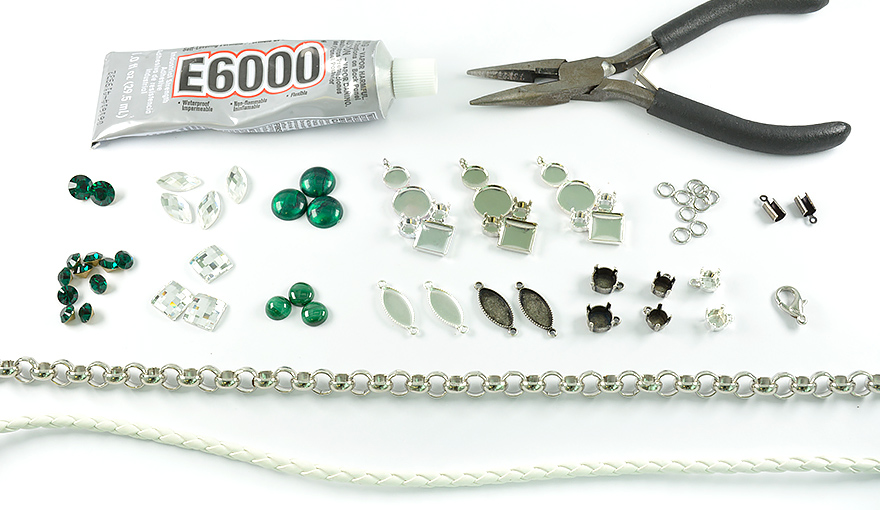
Step 1: preparing your materials


Prepare your work environment.

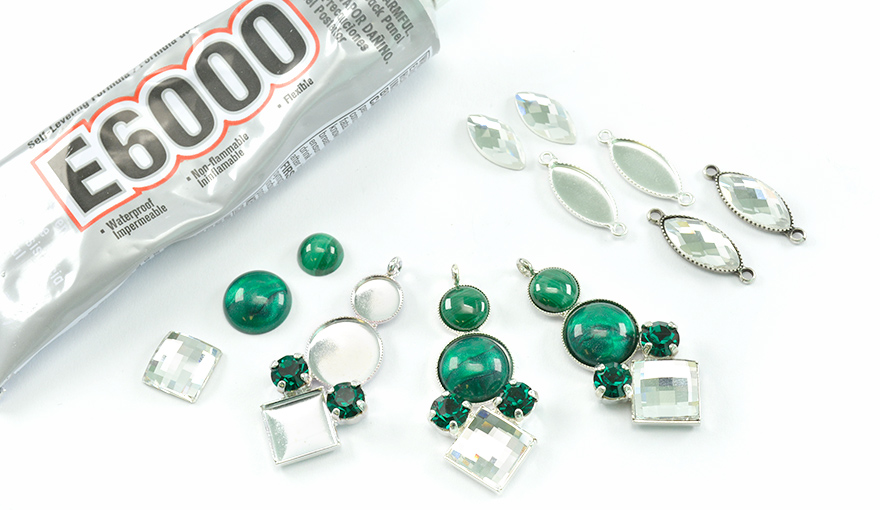
Organizing your tools and materials will help you work faster and more efficient.


Cut the white leather to a 50cm long piece.


Cut 41cm piece of 8mm round loops chain.


Step 2 : setting the stones


Start with setting all the stones before combining the base of the necklace so that the glue in the flat back settings will have the time to dry.


Place the stone in the center of the stone setting and with the help of the setting tool bend the prongs towards the stone in order to embed it.


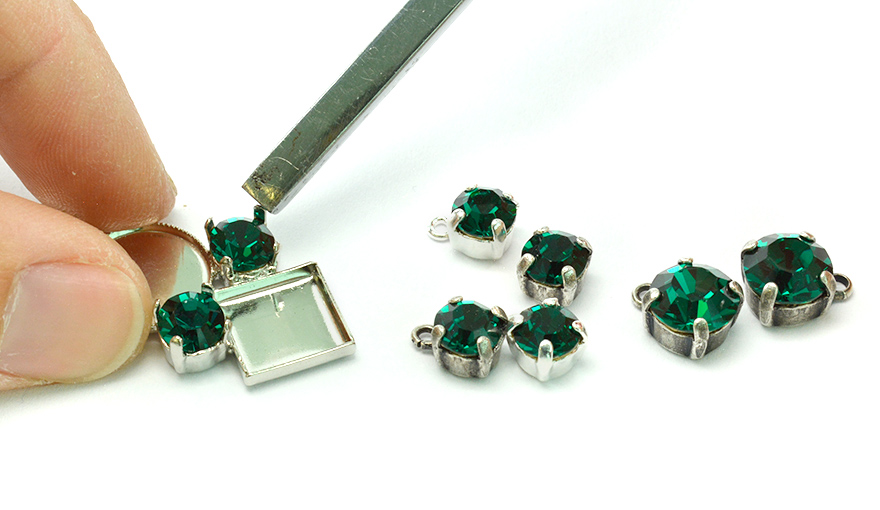
Use a tiny bit of E6000 glue in every stone setting.


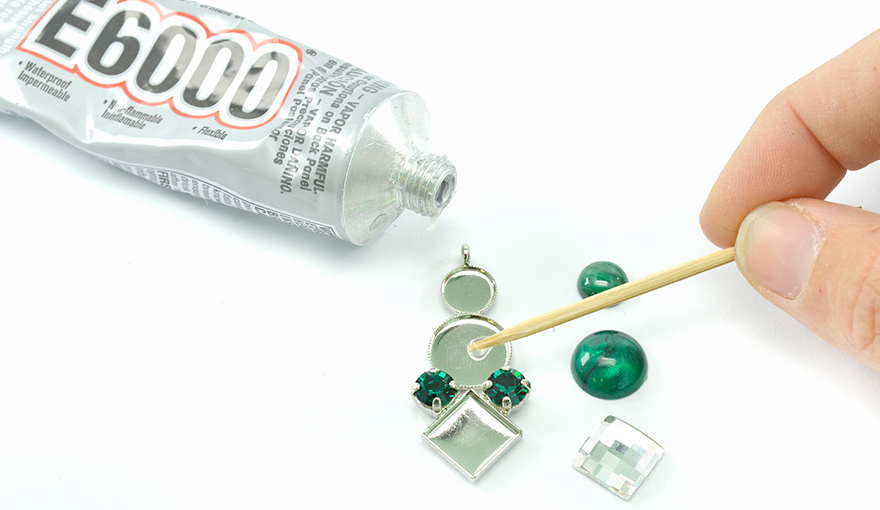
Just place the flat back stone inside the setting with the glue.


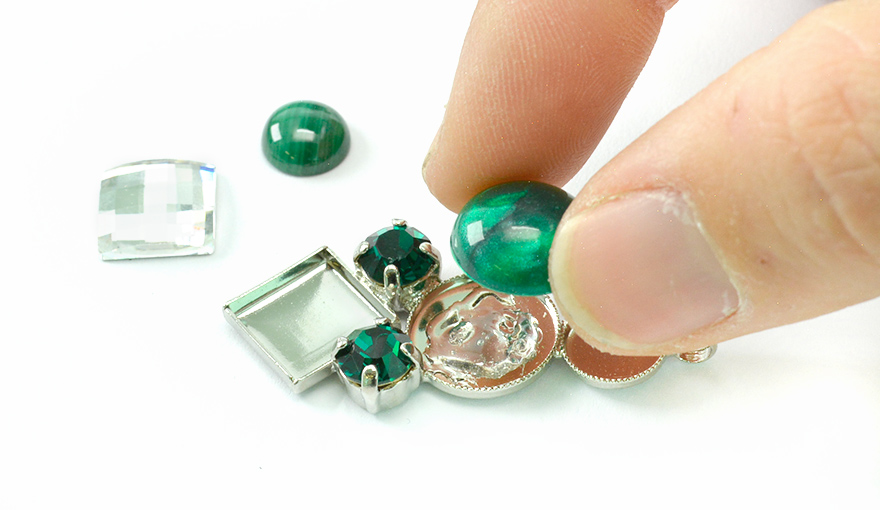
Glue on the rest of the stones, and let them dry for a few minutes.


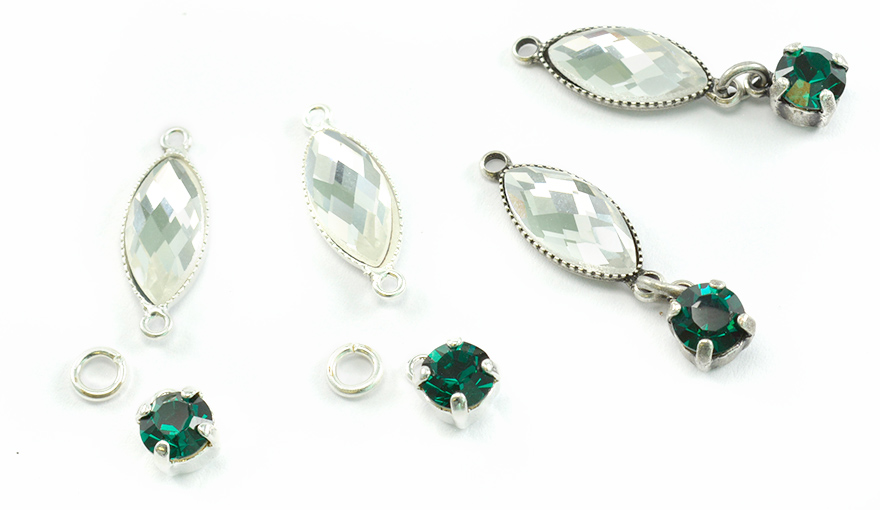
Use 5mm jump rings to connect the navette stone setting stones to the 29ss stone setting.


Step 3 : connecting the leather to the chain


Start to connect from the center to the ends, connect one jump ring every 7 loops of the chain.


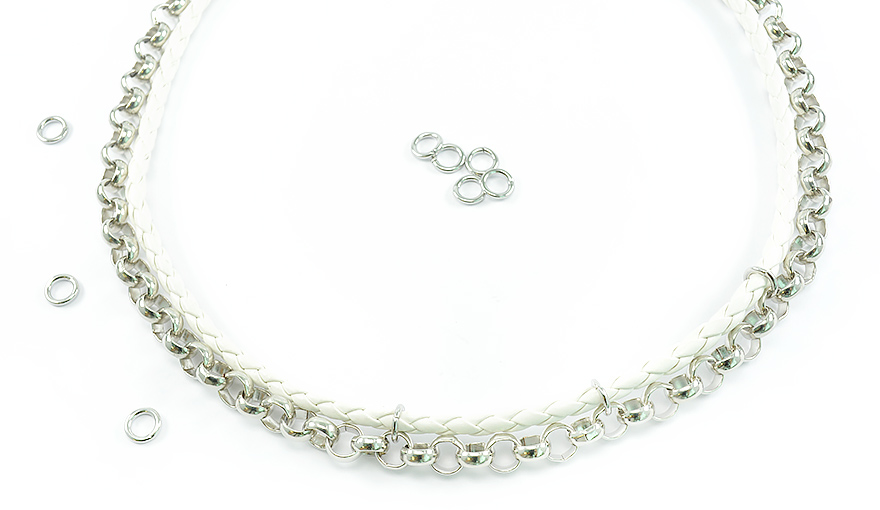
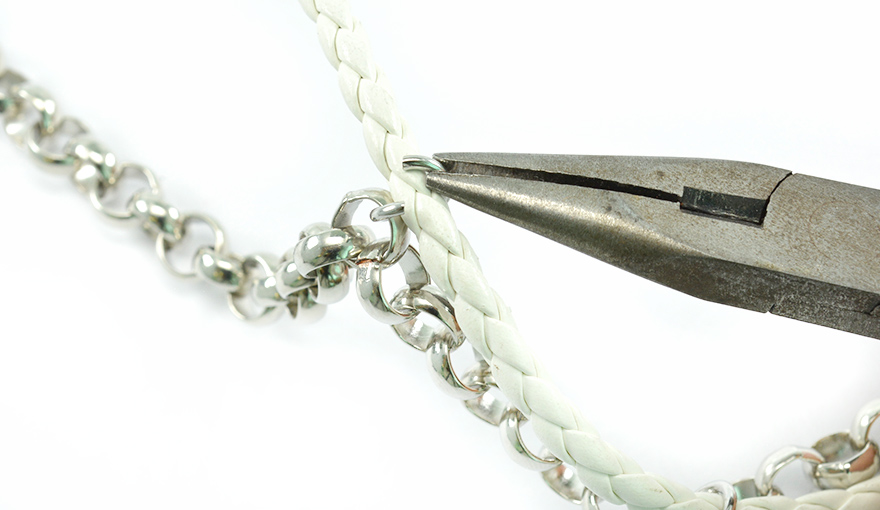
Open the 8mm jump ring using both pliers and close it on the leather.


When the chain and leather are connected all through the ends cut off the extra leather.


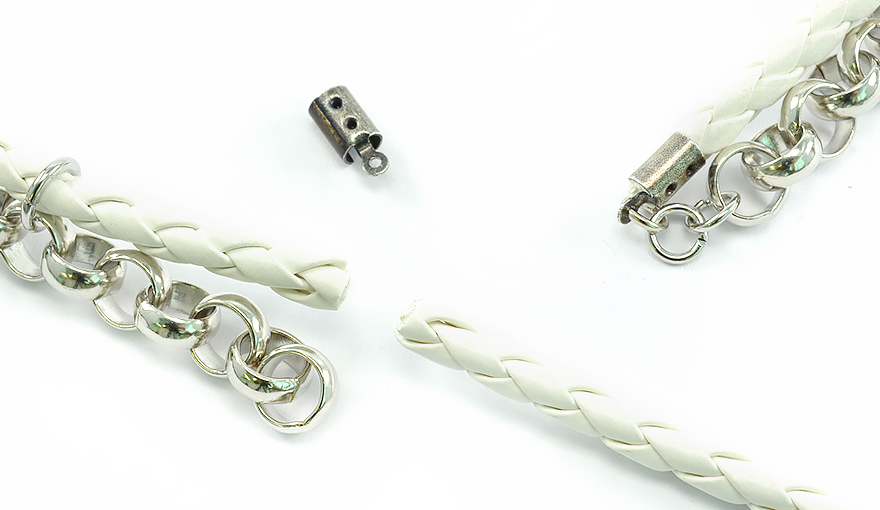
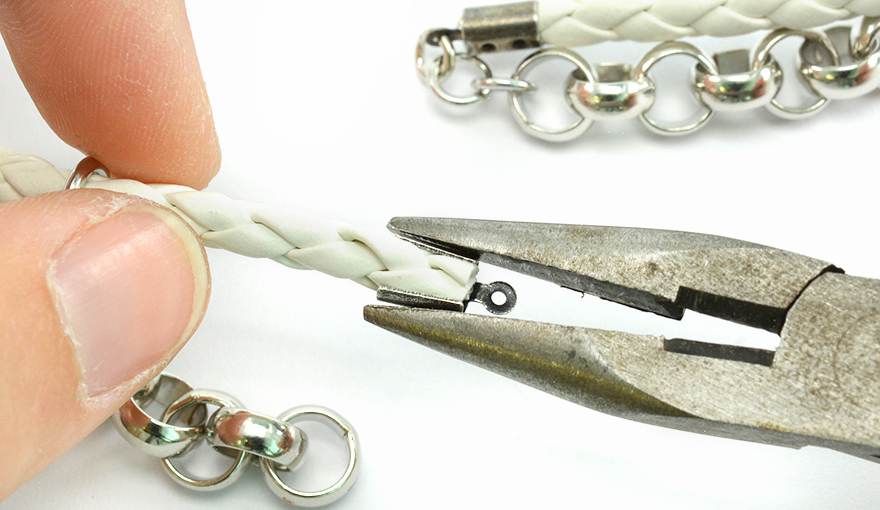
To close the necklace the end of the leather needs to be held by the metal ends for 3mm cord.


Just slip the metal ends on the leather and use the plier tool to press them until they close.


Connect the ends of the leather and chain together with 6mm jump rings.


Also hang the clasp on one side and the extension chain with metal label and Swarovski stone on the other side.


Step 4 : hanging the pendents


Connect 5mm jump rings to the big pendents, and then use 6mm jump rings to hang all of the pendents and stone settings on the round loop chain. 
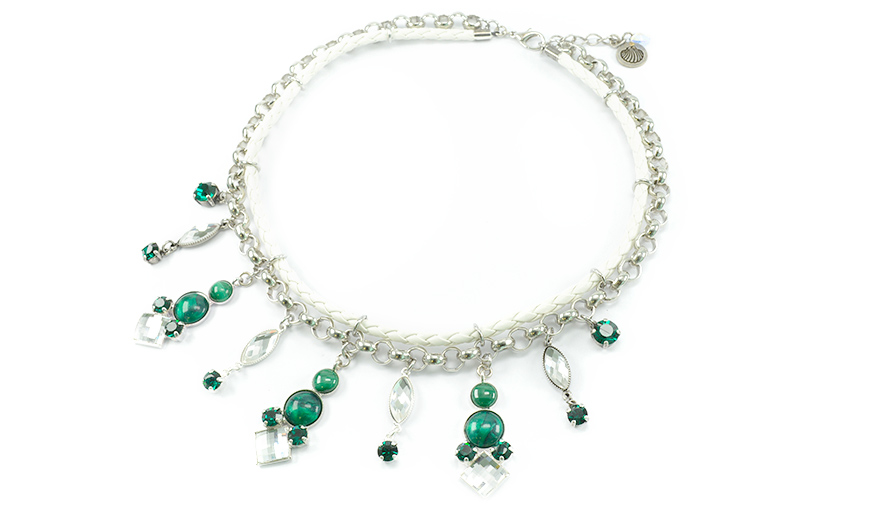


Good work!

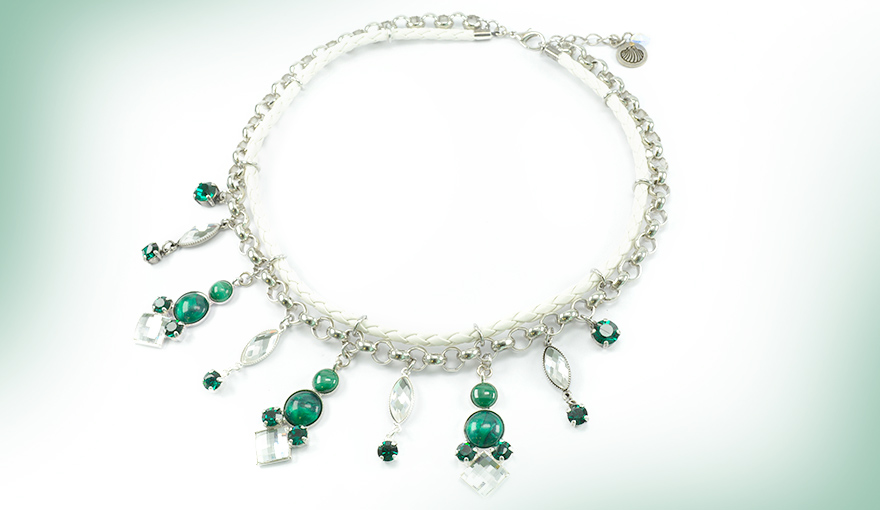
The necklace is ready!


Enjoy your new beautiful Swarovski necklace.


Gita team.


Title
Plating/Rhinestone
Quantity
Price
Shiny Silver (NF)
Shiny Silver (NF)
Sale Expires:

0
$0.0
Flat back Navette 15-7mm with 2 loops Price for 1 unit 5001100
Shiny Silver (NF)
Shiny Silver (NF)
Sale Expires:

0
$0.0
29ss with one top loop Price for 1 unit 5006473
Shiny Silver (NF)
Shiny Silver (NF)
Sale Expires:

0
$0.0
3mm White color Imitation leather Price for 1 pack 5002740
Sale Expires:

0
$0.0
8mm Rolo chain Price for 1 pack 5001417
Nickel/Rhodium color(NF)
Sale Expires:

0
$0.0

Related Tutorials:

Beautiful and shiny snowflake jewelry
Shiny snowflakes in Rose gold and nickel metal plating’s with SW crystals
Styling ideas
Beads, ceramic cabochons and a cute bunny layered bracelet
Step by step DIY
Metal chain necklaces & bracelets inspiration
See how you can take these great new metal chains centerpieces and bracelets one step up
Gita's magazine

Help us improve our school

Was the information Usefull? Yes No
Name:
Email Address:
Which other tutorials or articles would you like to see
Please note any suggestions for improvements for us to get better?

Please Wait

Succuess

Error Failed

0.6873115