This is a step by step tutorial that will show you how to combine a long bracelet cup chain to the leather cord and make a two layered bracelet. This bracelet wraps around the wrist twice, one with a row of shiny crystals and one with the decorated cord and a heart shaped metal charm.
Step 1 - Gather all the ingredients
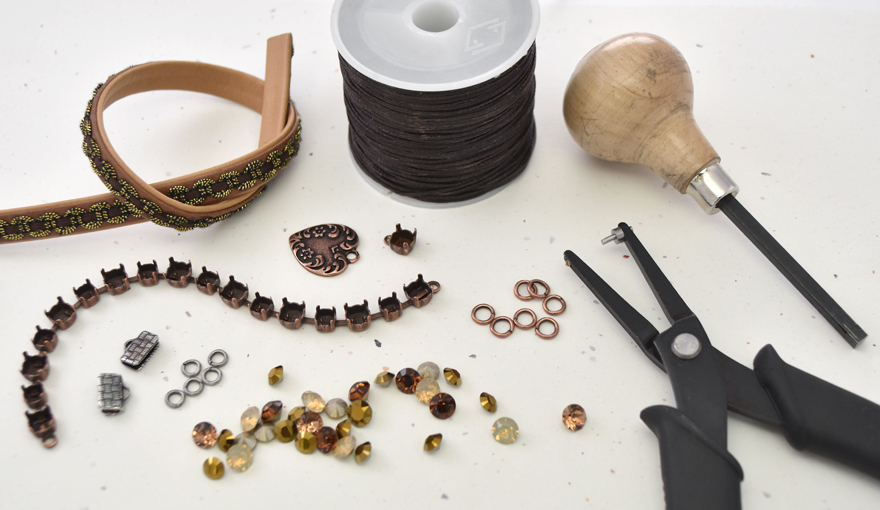
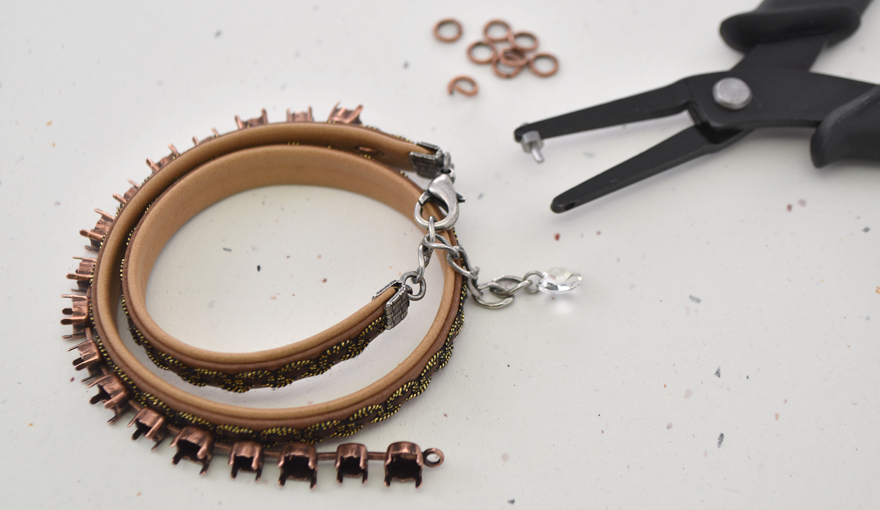
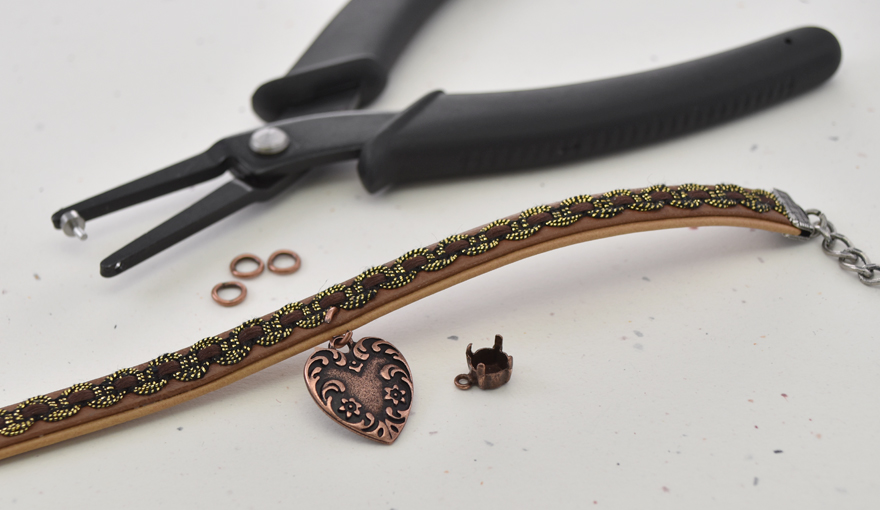
Gather all the ingredients:
32cm of Decorated braid cord
2 10mm crimp ends for flat cords
29ss, 24ss bracelet cup chain with loops
1 metal heart charm
1 29ss stone setting with one top loop
29ss and 24ss Swarovski crystals
6mm and 5mm jump rings
1 clasp
5cm extension chain with SW charm
Tools:
2 plier tools
Cutting tool
Hole punching tool
A lighter
Prong pusher tool
Step 2 - Closing the bracelet
Cut a 32cm piece of leather cord - it will be long enough to be wrapped around 2 times around the wrist. Together with the clasp and extension chain it will make a 38cm long bracelet, which is enough to fit many sizes.
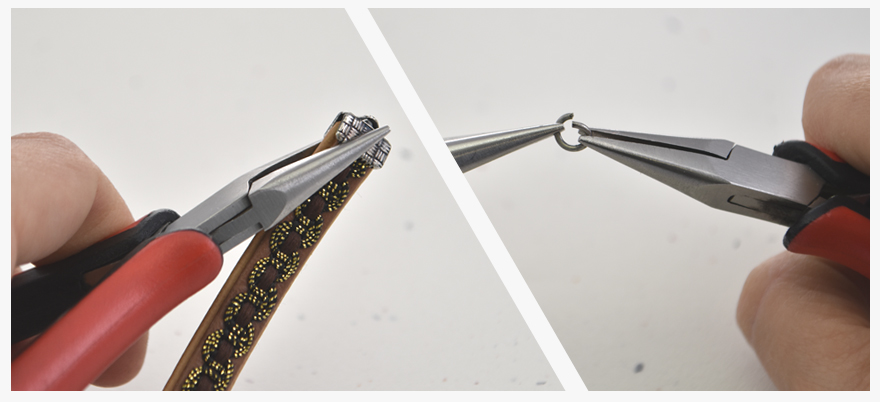
Start with placing the 10mm crimp ends for flat cords on the edge of the cord and press it till it holds the cord very tightly.
Open 5mm jump rings using two plier tools.
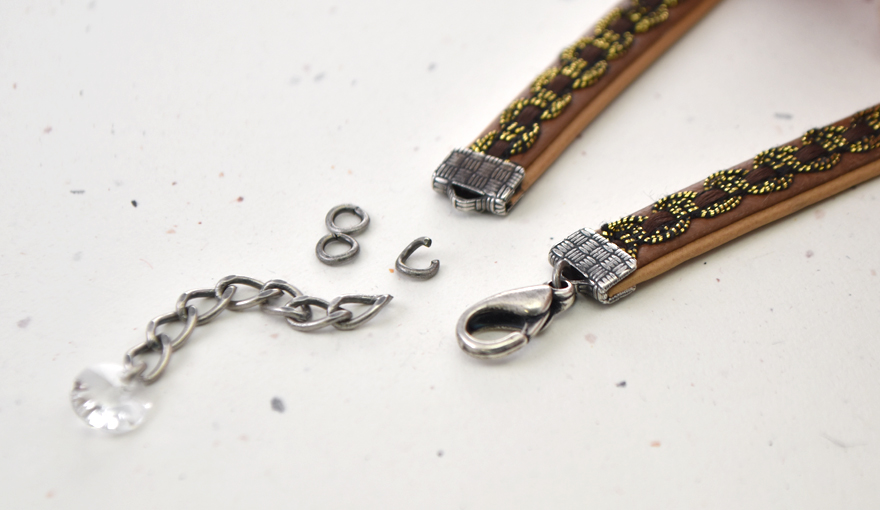
Connect the clasp and extension chain on either side of the bracelet.
Step 3 - Connecting the cup chain
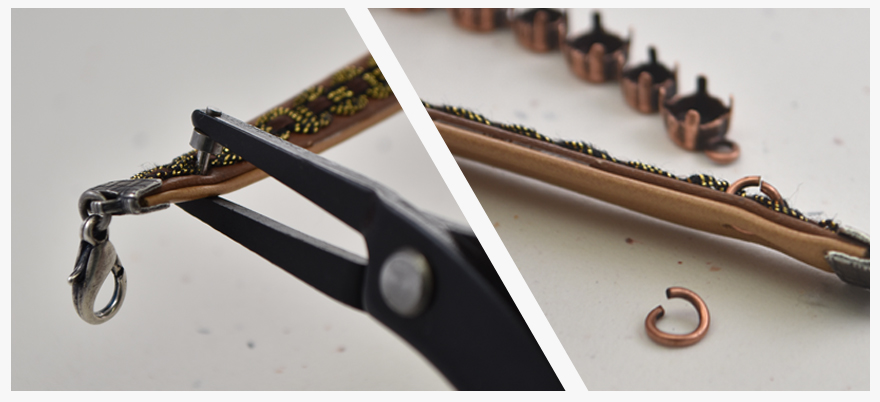
Make two holes next to the crimp end with the clasp:
Use this hole punching tool to make two holes in the cord for the 6mm jump ring. Slightly move the decorated braids and make the hole in the middle of the cord as possible.
Insert the jump ring through the holes and close it to hold the loop of the cup chain in place.
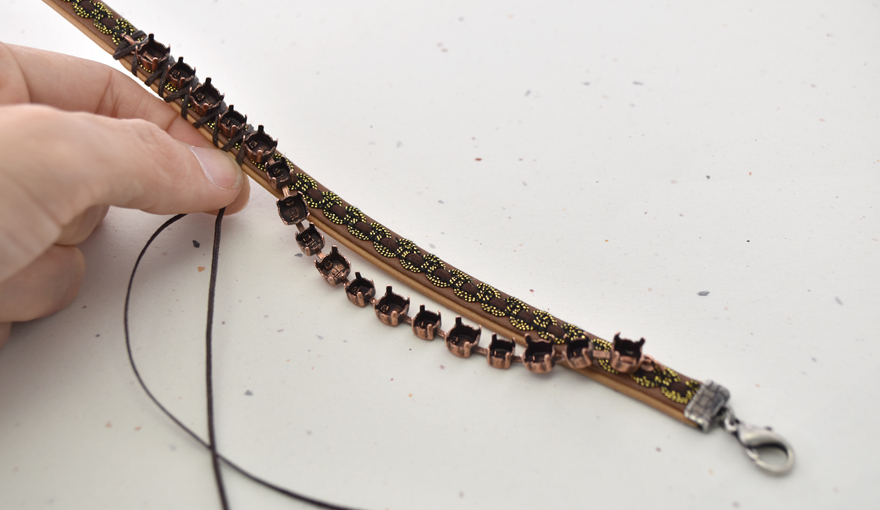
This is the most important part, and that is why we started with the crimp ends, clasp and extension chain. Close the bracelet so it will make two rounds. Place the cup chain along the leather cord as it bends, to find the right place to connect it to the leather.
This is the way to make sure the cup chain will bend without pulling the cord.
When you find the exact place toconnect the second 6mm jump ring, make two holes with the hole puncher tool and insert to the jump ring into the holes.
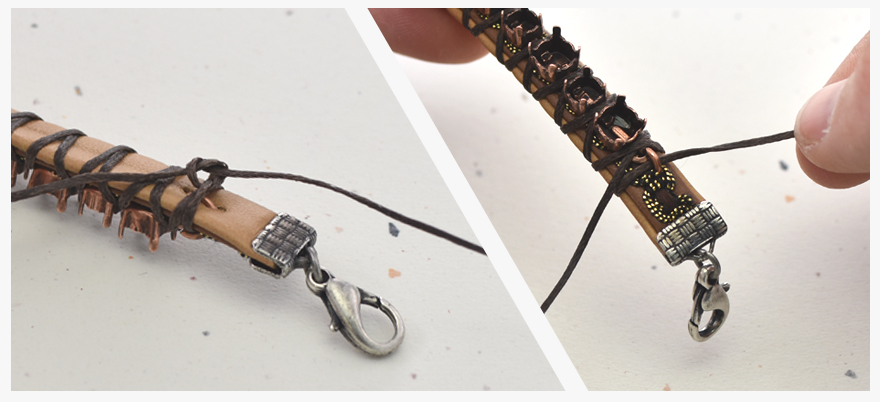
The wax cord will hold the stone settings in place and create a nice decorated x's pattern, so it is ok that the cup chain is loss.
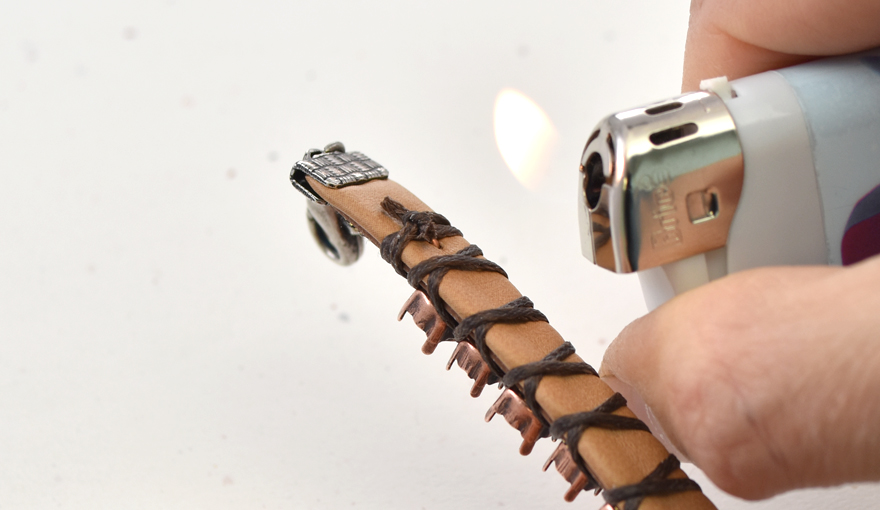
Slide the wax cord through the first loop and make x's pattern between every stone setting all through the cup chain. When you’re done, slide the cord through the second loop and tie it at the back.
Use a lighter to slightly worm the wax till it melts and seals the knot.
Step 4 - Hanging the charm
Again, close the bracelet to make two rounds. Find the place where the charm will be hanging in the middle of the second leather cord layer. Make another hole for the 6mm jump ring that will hold the metal charm.
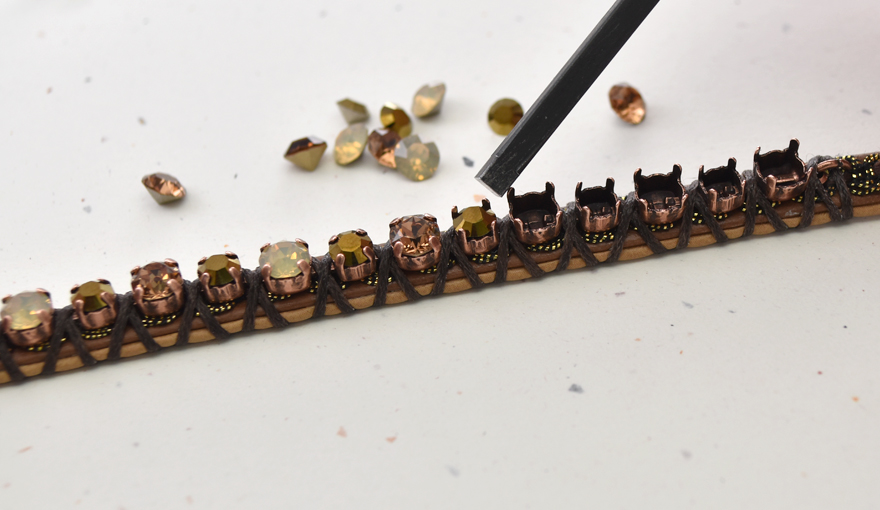
Step 5 - Embeding the crystals
Use the prong pusher tool to embed the 29ss and 24ss Swarovski crystals into the cup chain.
You can also embed the crystals into the cup chain before you connect it to the leather if you find it more comfortable.
This creative way of connecting cup chains to leather cord using jump rings and colorful wax cords is very popular and as you can see, not that hard to make!
As you can see, the basic technique is the way to hold the cup chain with jump rings on the leather and with the wax cord to finish it in a decorated way. The leather, crystal size and the length of the cup chain can be different and it can still work and make a beautiful bracelet!
Have fun creating!
GITA team.