clear all

Type

Gita's magazine
Video tutorials
Step by step DIY
Styling ideas
Learn new Technics
Most popular
Crystals inspiration
Color combinations
Technical questions

Jewelry

Necklace
Bracelet
Earring
Ring
Pendant
Hair Accessorie
Jewelry sets

Techniques

Embedding
Gluing
Beading
Other
Crimp Elements
Stringing

Materials

Cup chain
Stone setting
Metal embedding
Metal casting
Charms
Chains
Swarovski
Cabochons
Beads
Leather
Strings
Pearls
SW rhinestone

Skill level

Beginners
Intermediate
Advanced

Metal Plating

Antique Silver
Antique Silver
Antique Copper
Antique Copper
Antique Brass
Antique Brass
Shiny Silver
Shiny Silver
Gold
Gold
Nickel
Nickel
Rose Gold
Rose Gold
Black
Black
Bronze
Bronze
Noir Black
Misty Gold

Colors

Black
Black
Gray
Gray
White
White
Yellow
Yellow
Orange
Orange
Red
Red
Pink
Pink
Purple
Purple
Blue
Blue
Turquoise
Turquoise
Green
Green
Multi-color
Multi-color
Brown
Brown
Metallic
Metallic
Beige
Beige
Sparkly
Sparkly

Themes

Casual
Basic
Fancy
Bridal
Ethnic
Urban
Young
Vintage
Flowers
Winter
Spring
Summer
Autumn
Christmas
Valentin’s day
Mother’s day
Holidays
Religion
Evening

Connecting two cup chains together with a metal connector

Connecting two cup chains together with a metal connector

26/09/2016
Connecting two cup chains together with a metal connector


Here are 6 simple steps to connect any size of cup chain using this metal connector:


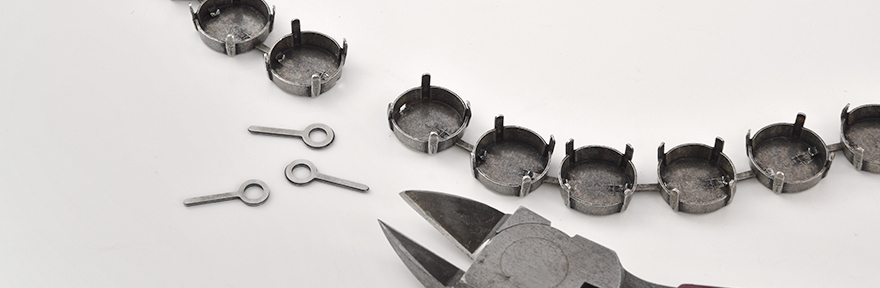
1. This is a large connector that is specially designed to be placed inside the hole at the side of the last stone setting in a cup chain, and to make a strong connecting element between any kinds of two cup chain pieces.


2. The square shape of the connector is the right size to fit the square shape hole in the last stone settings. Most of the times you need to strongly push it inside using a plier tool.


3. When the connector is placed inside the stone setting, use the cutting tool to pinch it at the edge and basically deformed it so it is no longer in its original square shape, and that is what will prevent it from going out of the hole. Pay attention that you pinch the metal and do not cut it.


4. Use the cutting tool to cut away the loop at the end of the connector, you don’t need it, it is just a helpful part to use when you insert it to the stone setting at the beginning.


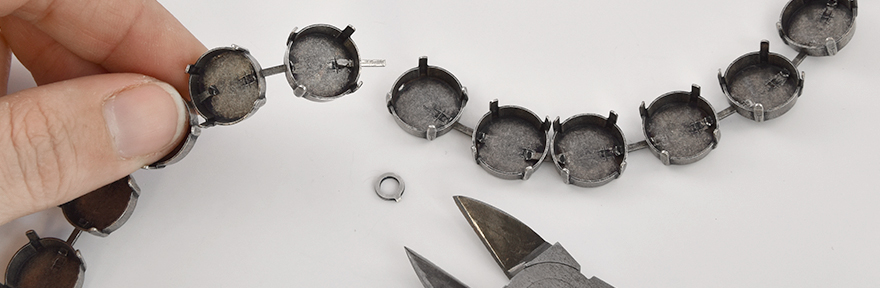
5. Insert the end of the connector into the hole in the other stone setting.


6. Again, you need to use the cutting tool and pinch that other end of the connector so it will not be able to go out of the hole.


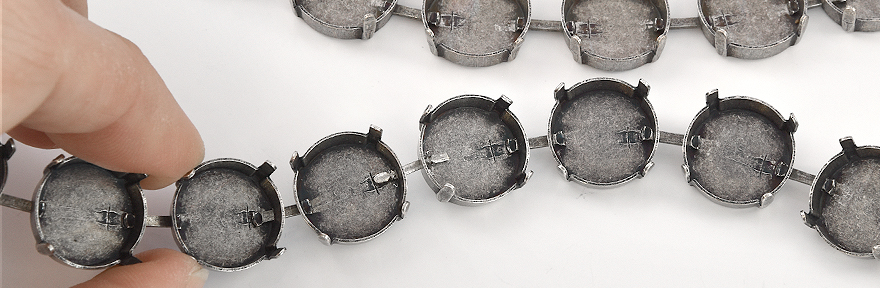
That’s it. These two cup chain parts are now strongly connected to one another, in a way that looks very clean and organic like the way that the rest of the stone settings are connected.


Have fun creating!
GITA team.

Title
Plating/Rhinestone
Quantity
Price
Cup chain connector 20pcs packs Price for 1 pack 5003726
Sale Expires:

1
$6.7

Related Tutorials:

Halloween jewelry trends 2016
This is the time of year when your clients are looking with excitement to see fresh new Halloween ex...
Gita's magazine

Help us improve our school

Was the information Usefull? Yes No
Name:
Email Address:
Which other tutorials or articles would you like to see
Please note any suggestions for improvements for us to get better?

Please Wait

Succuess

Error Failed

0.6789096